Quickstart with Weaver
You can build and deploy your first agent in just a few minutes using Weaver, the no-code AI workflow builder inside SmythOS.
You describe your goal in plain language, Weaver assembles the workflow, then you test and deploy.
Step 1: Describe Your Goal
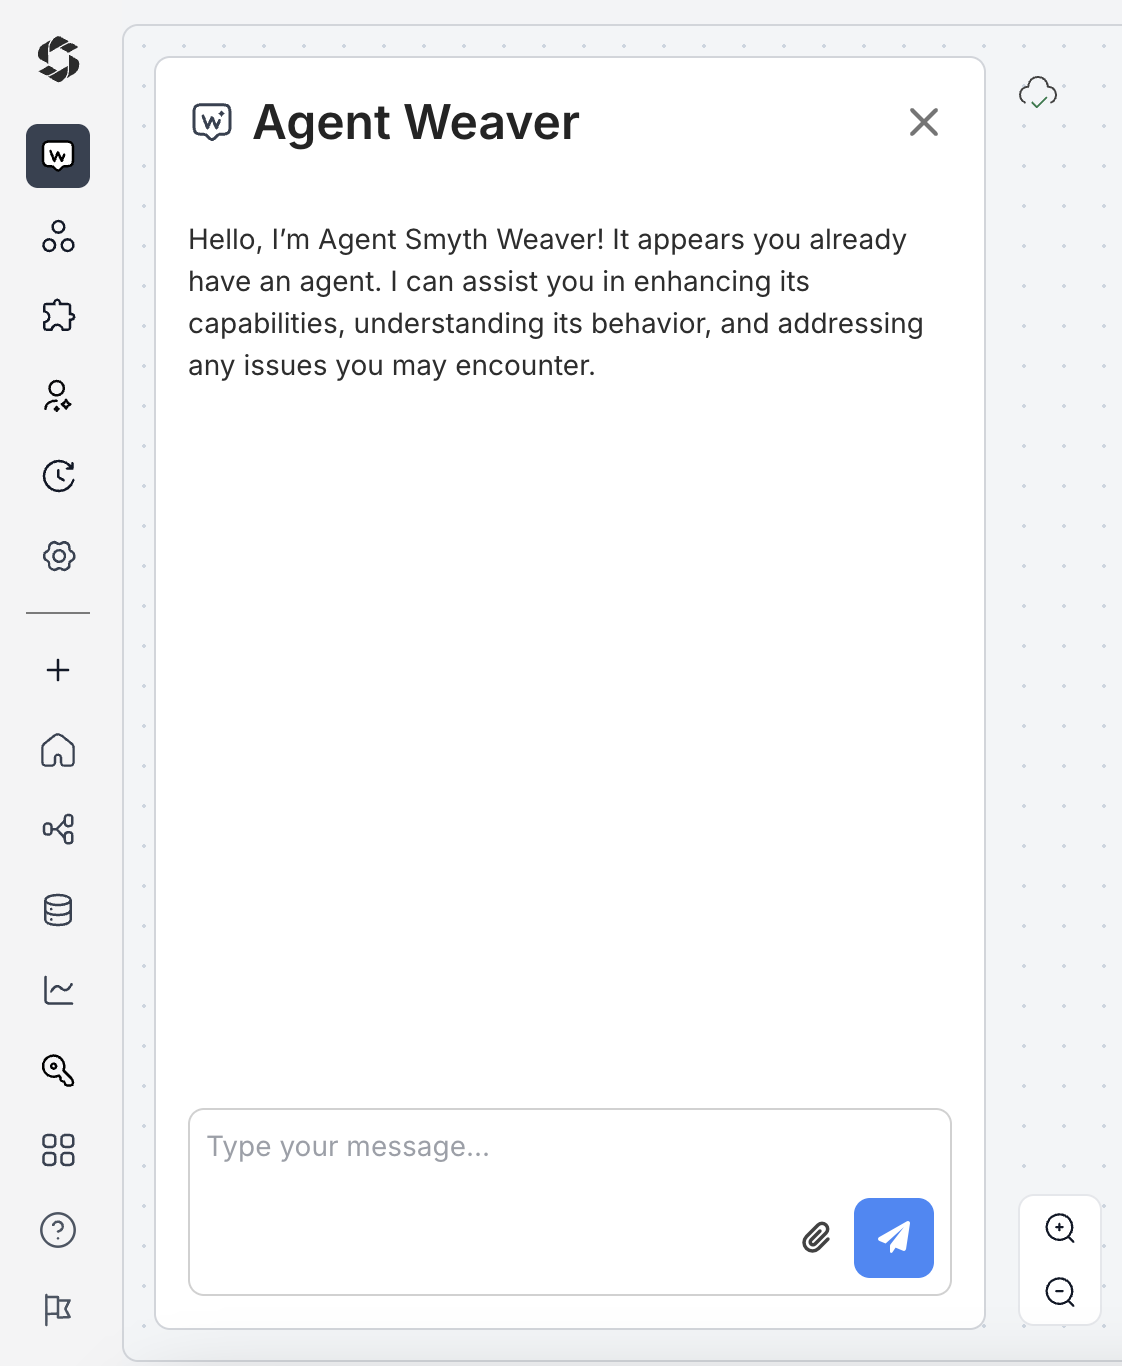
Open Weaver and simply state what you want.
For example:
Weaver immediately parses your request and begins planning the workflow.
Step 2: Watch Weaver Build the Workflow
Weaver enters a brief “Thinking...” phase where it processes your goal.
For the blog publishing example, Weaver:
- Suggests an SEO WordPress Publisher agent
- Outlines the workflow: generate content, extract keywords, and publish to WordPress
- Prompts you for details such as your WordPress URL, API token, or publishing preference
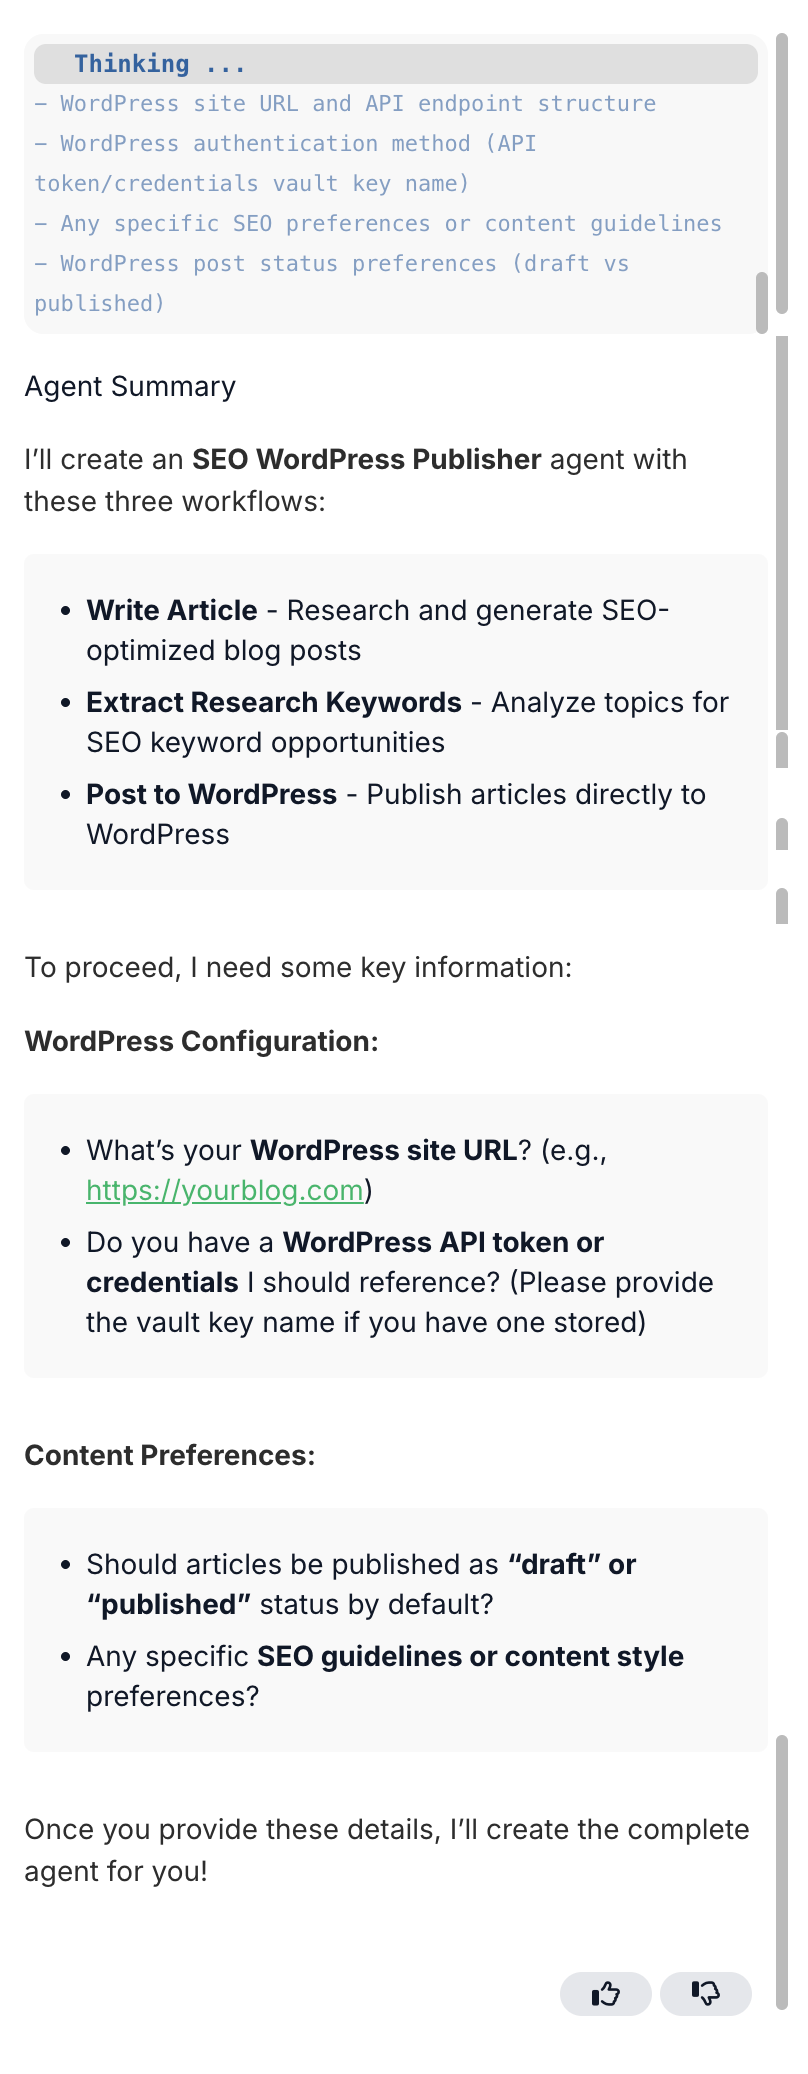
Weaver interprets your goal, drafts the agent, and asks for details like WordPress credentials and publishing preferences.
If you want speed, you can also ask Weaver to assume defaults and generate a working draft immediately.
Once clarified, Weaver presents a connected workflow you can inspect and adjust.
Weaver assembles a complete workflow that you can edit, rewire, or test right away.
Step 3: Test and Deploy
Now interact with your draft agent directly in Weaver:
- In Chat, try “Write a post about Top AI trends in 2025.”
- In Form, enter a topic as input.
If a step fails, open the block, review inputs and outputs, and use Fix with AI. For a deeper look at how fixes work, see the Debugging Guide.
When the workflow behaves as expected, click Deploy. SmythOS provisions the agent in the Agent Cloud, assigns it a version, and gives you a live HTTPS URL. To learn how versions and rollbacks work, visit the Versioning Guide.
Where to Go Next
- If you want to refine your workflow, explore the Studio Canvas, which lets you edit agents visually.
- If you need to run agents offline or in private infrastructure, check out the Runtime Overview.
- If you are ready to manage multiple agents or scale to production, see the full Deployments Overview.