SEO Blog Post Agent
The SEO Blog Post Agent helps you create comprehensive, search-optimized blog articles in minutes. You provide a target keyphrase, and the agent will:
- Research relevant sources on the web
- Scrape top content for supporting details
- Generate a full 2,000-word blog post with:
- Engaging introduction
- Three detailed sections
- Strong conclusion
- Optimize everything for SEO with strategic keyword placement
Use Cases
-
Content marketing & SEO
Produce in-depth, keyword-optimized articles that attract organic traffic and improve rankings. -
Business blogging & thought leadership
Establish authority by publishing informative, well-researched posts on industry topics. -
Agencies & freelance writers
Scale output and deliver client-ready drafts faster, focusing your time on customization and polish.
Testing the Agent
Step 1: Access the Agent
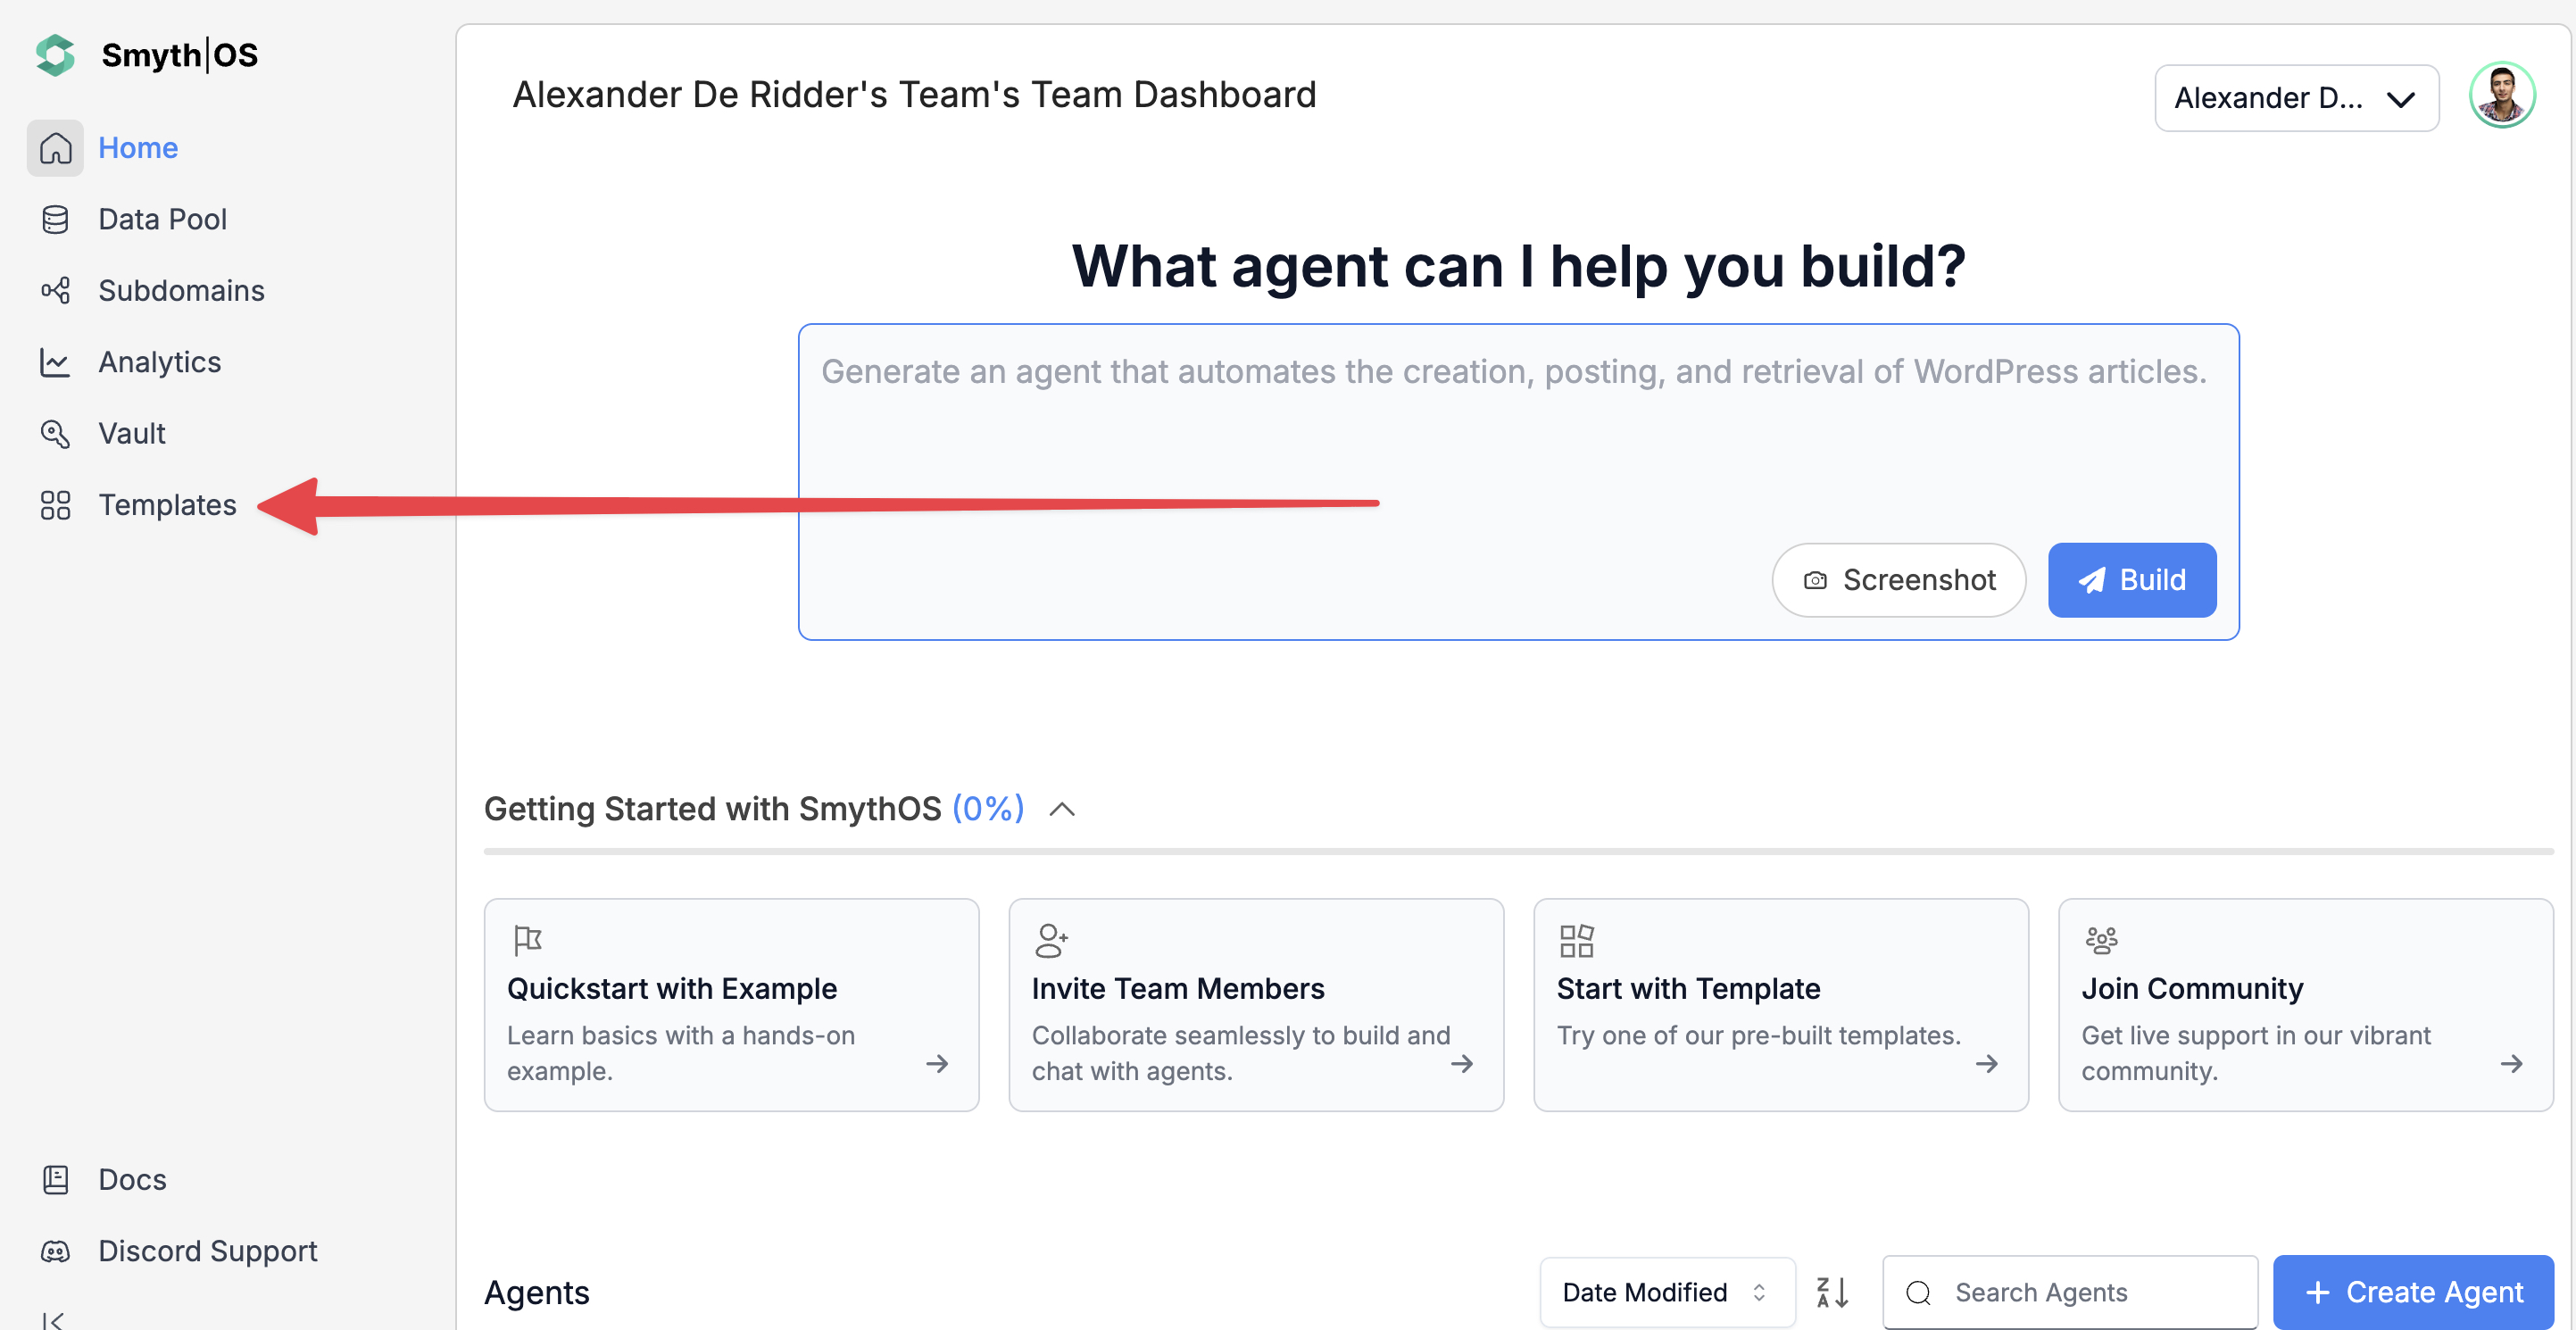
- Go to the Templates section in the sidebar
- Open the Marketing tab
- Find SEO Blog Post Agent and click Remix

- The full workflow will open in Agent Studio
Step 2: Run the Agent
You can test the agent in two ways:
Option 1: From the top toolbar
- Click Test (top-right)
- Switch to Form Preview
- Enter your keyphrase and instructions
- Click Run to generate your article
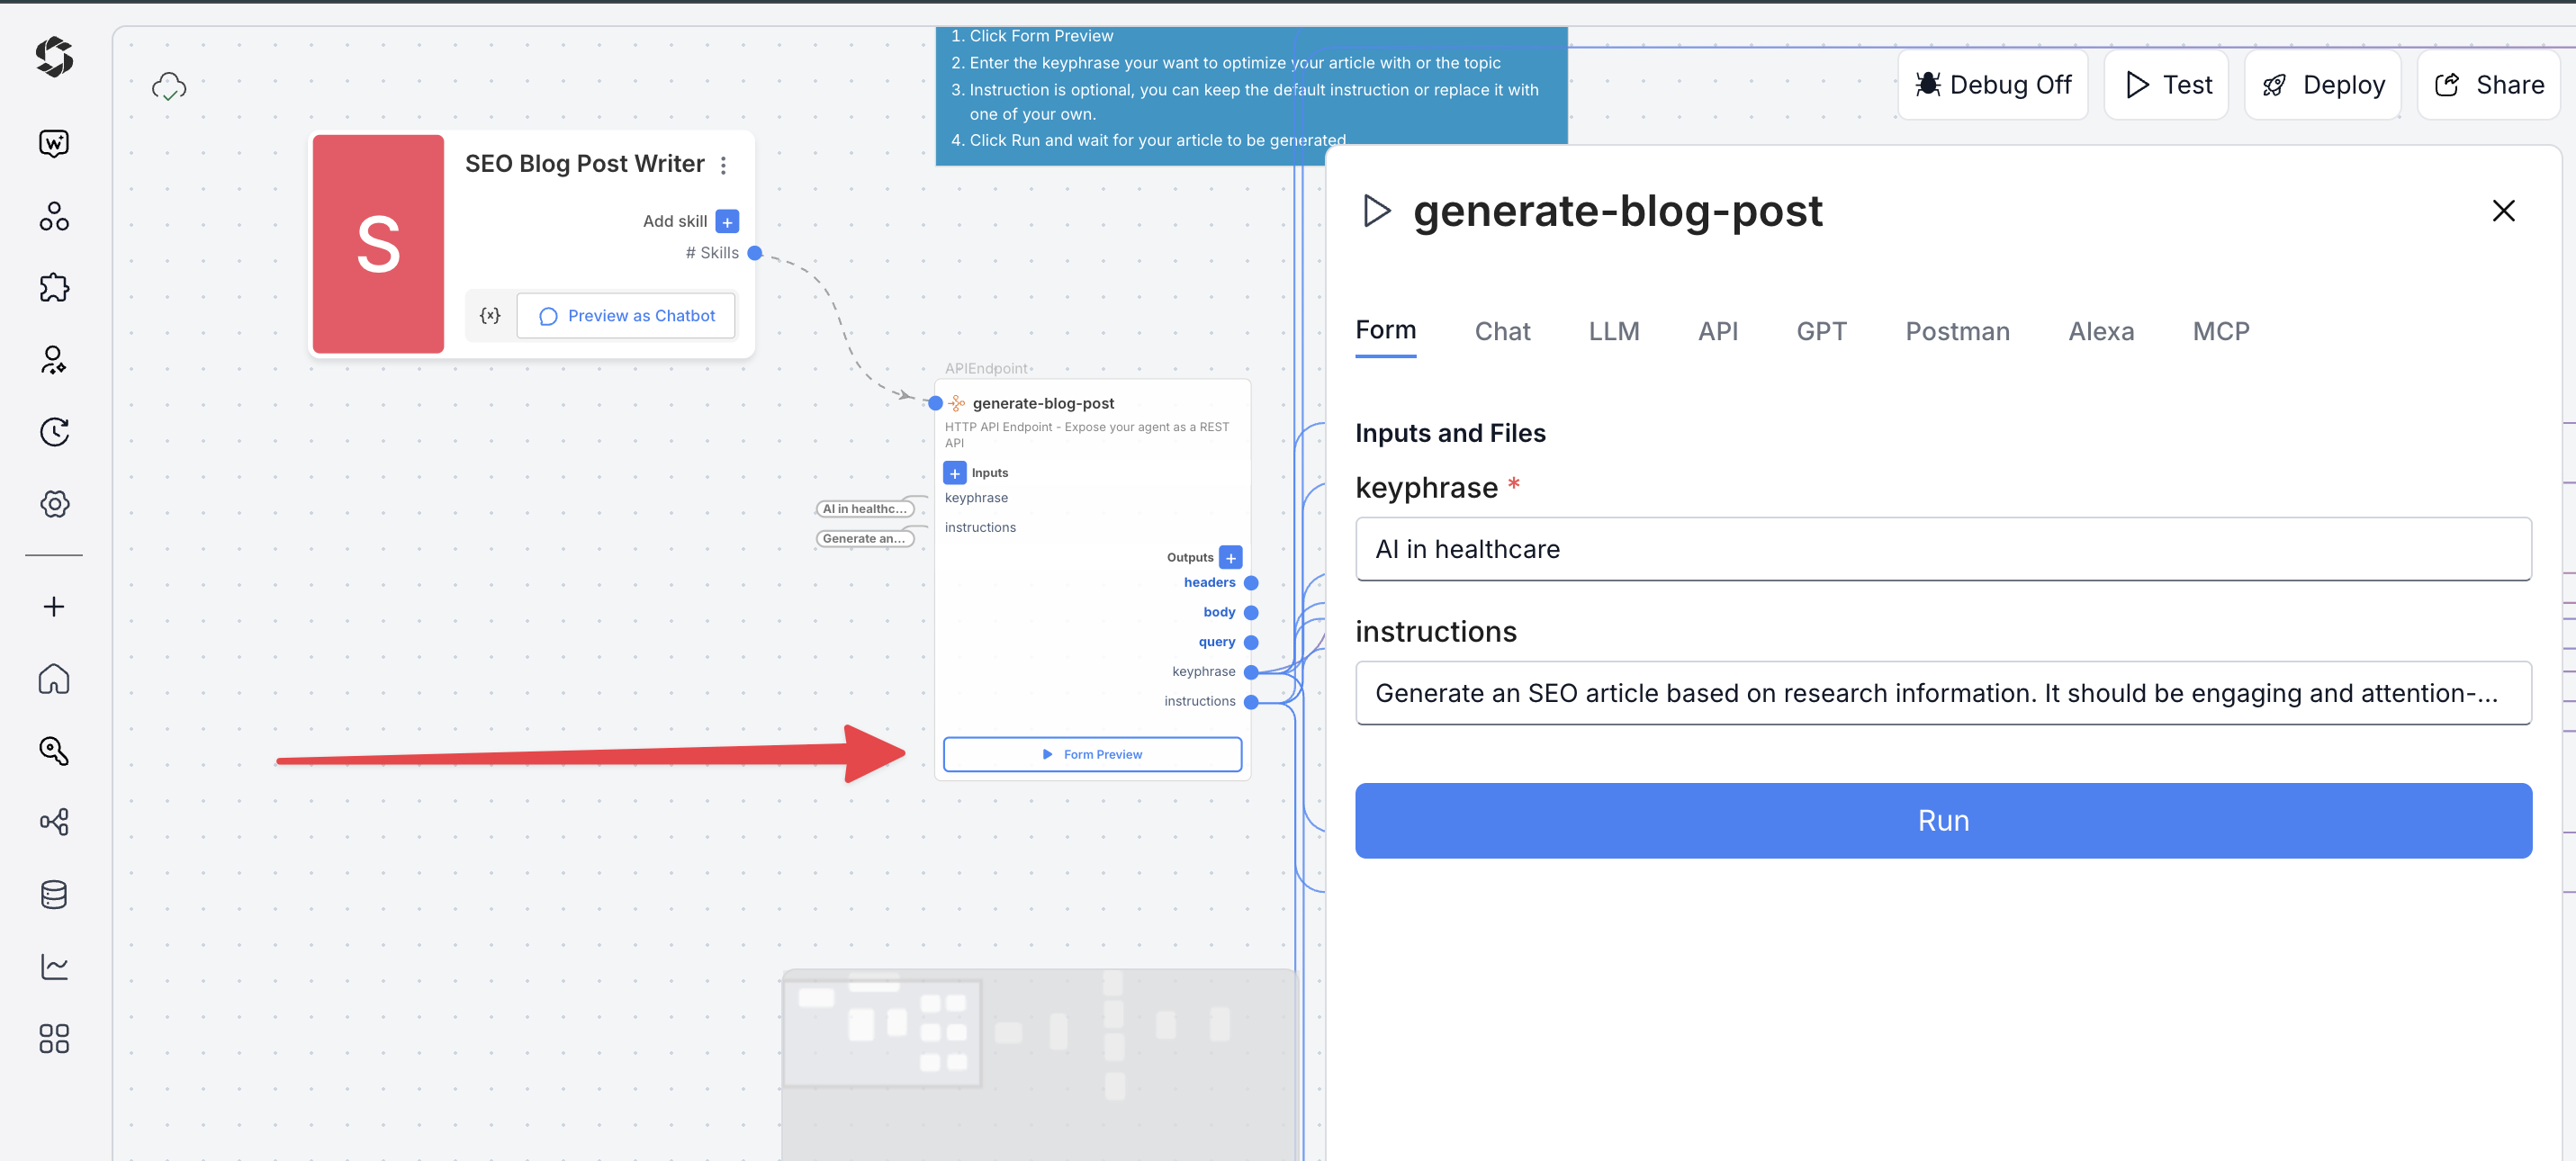
Option 2: Form Preview from the canvas
- Click the Form Preview button on the
generate-blog-postblock - Enter details, for example:
- KeyPhrase: AI in healthcare
- Instructions: Generate an SEO article based on research information. It should be engaging and attention-grabbing.
- Click Run to generate the blog post
Deploying the Agent
Step 1: Start Deployment
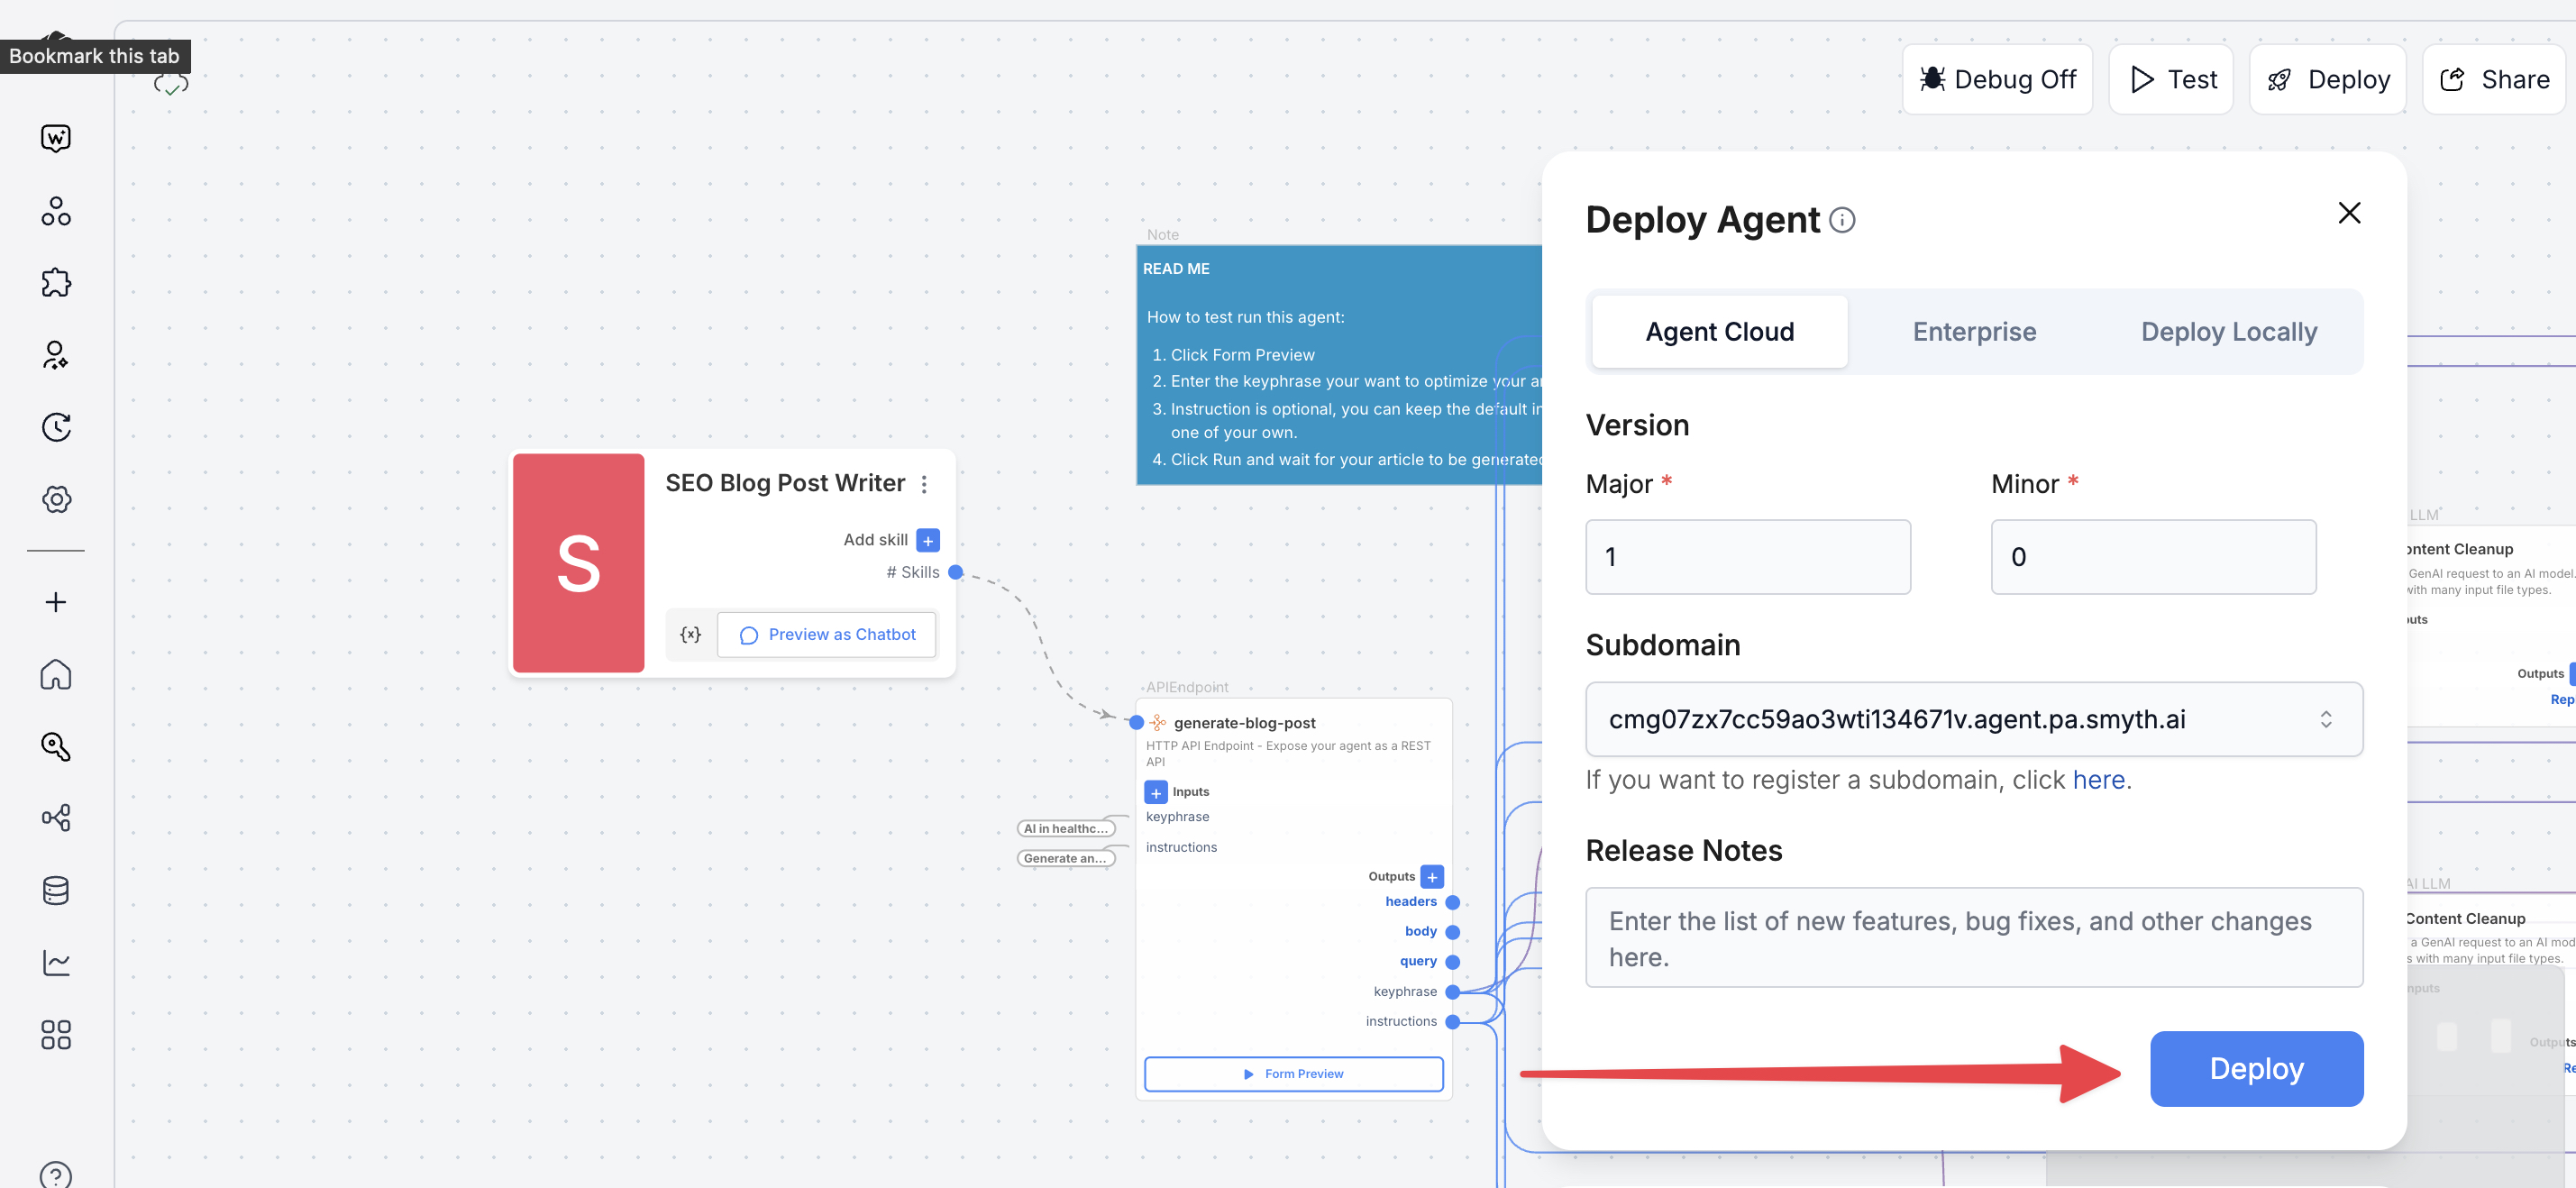
- Click Deploy (top-right corner of Agent Studio)
- Pick your environment:
- Agent Cloud (default, fully managed)
- Enterprise (self-managed, secure)
- Local Runtime (for development and offline use)
Step 2: Choose Your Deployment Type
Pick how users will interact with your agent.
- Custom GPT – Add instructions, behaviors, or tools
- Chatbot – Deploy as a chat interface
- LLM – Connect to large language models with API keys
- API – Call your agent programmatically
- MCP – Use Model Context Protocol for structured workflows
- Alexa – Launch as a voice assistant skill
You can find detailed guides to them by reading the Deploy Your Agent As...* page.
Customization Tips
- Search parameters – Increase
sourcesLimit(default 4) for more research data - AI models – Use GPT-5 for quality, GPT-5-mini for speed
- Scraping protection – Enable
antiScrapingProtectionfor bot-protected sites - Time-based research – Set
timeRange(day/week/month) for fresher content - Error handling – Add outputs to capture failed URLs for review
- Content validation – Insert a Classifier to check for SEO compliance
- Rate limiting – Add FSleep between scrapes to avoid being blocked
- Custom formatting – Use a Code block to output in CMS-friendly formats (WordPress, Drupal, Markdown)