Tutorial: Dropbox Folder Creator Agent
The primary function of this agent is to create folders on Dropbox based on your requirements.
Zapier API Key Setup
This agent uses the Zapier AI Actions component to automate folder creation on Dropbox. Zapier stands as a pivotal tool that interlinks various apps, enabling the automation of workflows. Its core functionality revolves around actions which are automated tasks that seamlessly connect two or more applications, eliminating the need for manual task handling.
-
Navigate to the Zapier website. If you do not have an account yet, proceed to create one by following the registration process. Skip this process if you already have an account and proceed to login.
-
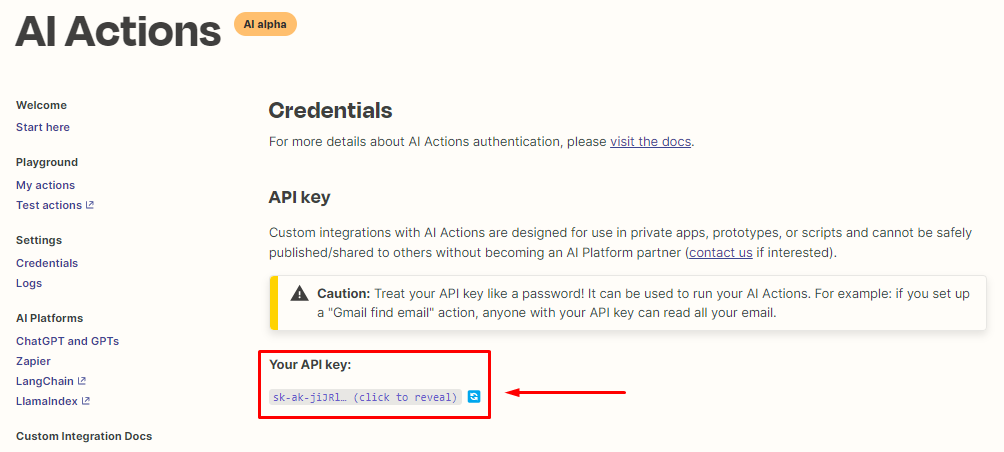
Go to this link to get your Zapier API key. Click the ‘click to reveal’ then copy your API key.
- Go back to
SmythOS, link your Zapier account by clicking the+sign beside the Zapier AI Actions tab on the builder sidebar.

- You will be prompted to input your Key Name and your Zapier API Key that you generated on your Zapier account, then click the
Savebutton.
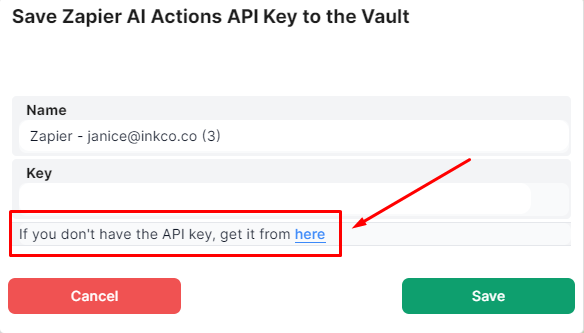
Note: Visit this link to learn about another method for setting up your Zapier API key.
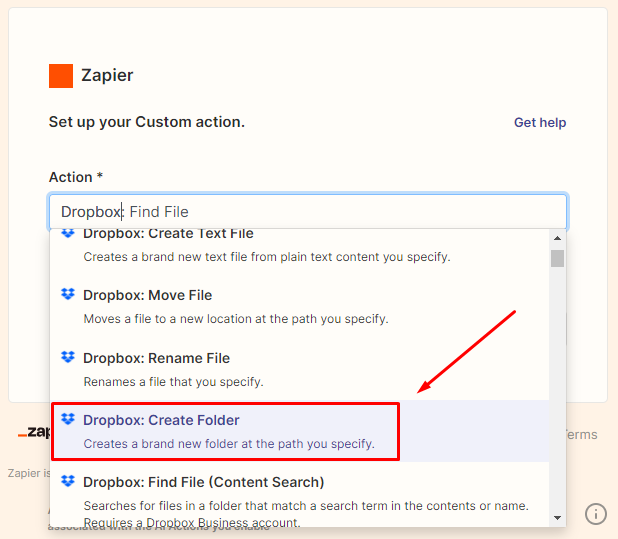
- After saving your API key, you'll be redirected automatically to the https://actions.zapier.com/custom/actions/ page. Here, you're able to add new actions and make modifications to your existing Zapier actions. Type
Dropboxon the Action input field, then selectDropbox: Create Folderfrom the list.
- You’ll be prompted to connect your Dropbox account. If you don’t have a dropbox account yet, proceed to create one. If you already have one, click on the
Connect a new Dropbox accountbutton.
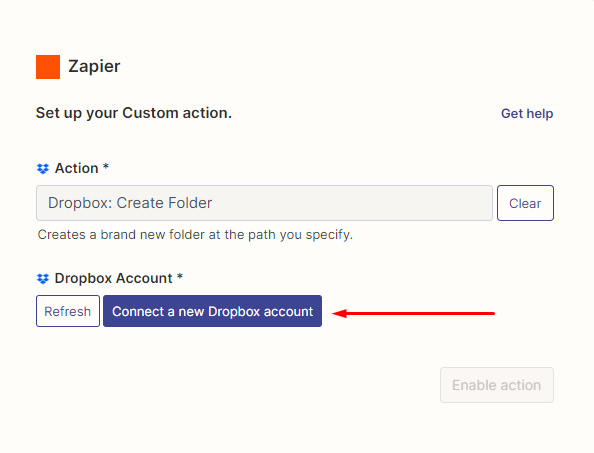
- Once your Dropbox account is connected, simply leave it as it is and proceed to click the
Enable Actionbutton.
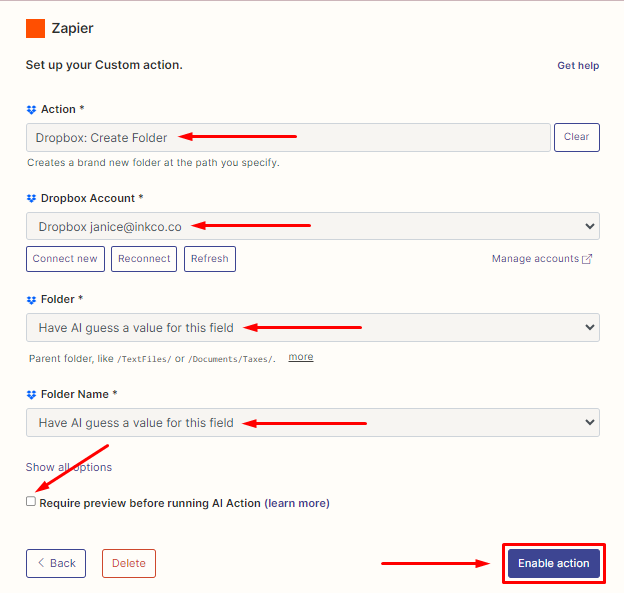
- You have now successfully linked your Zapier account to your Dropbox.
Zapier Component Setup
- Go back to
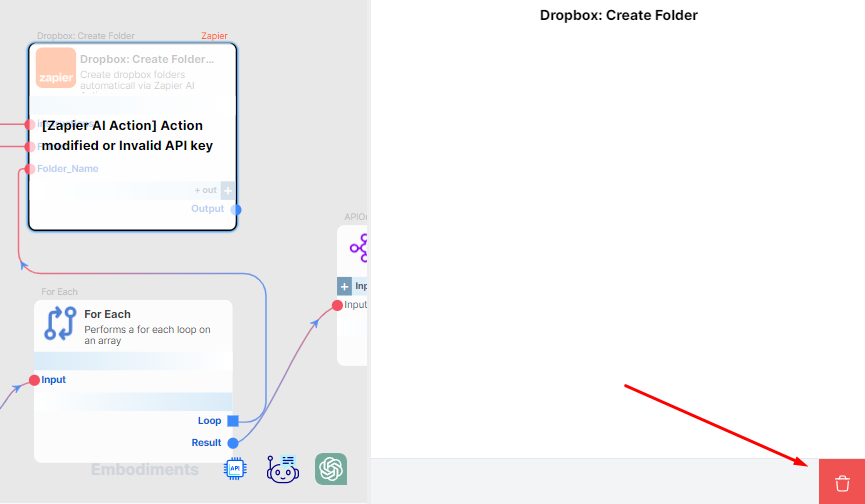
SmythOSand delete the existing Zapier component. Simply click thegearicon.
- Then, click the
deleteicon.
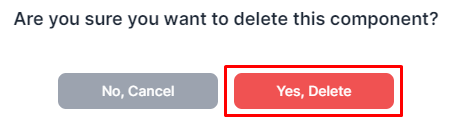
- Then, click the
Yes, Deletebutton to confirm.
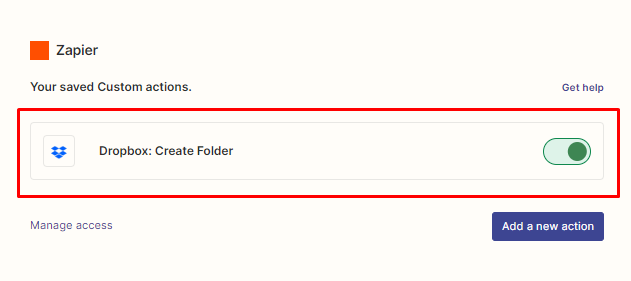
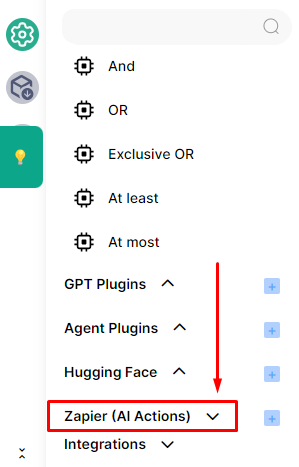
- Navigate to the builder sidebar, find the
Zapier (AI Actions)tab, and then click on the dropdown arrow.
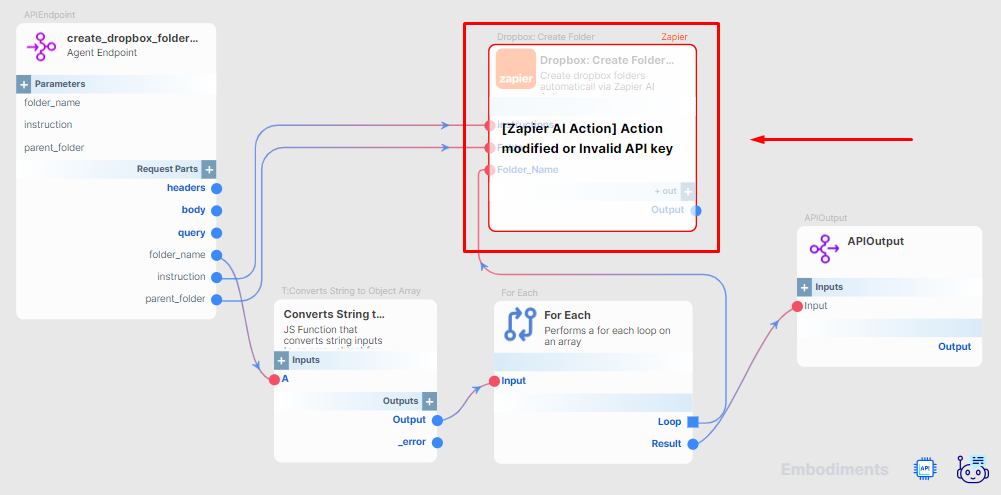
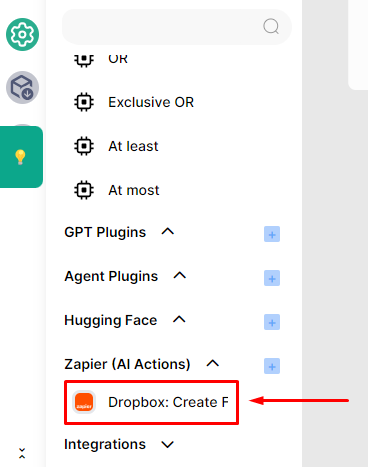
- Now you will see the new Zapier component. Drag and drop the component onto the builder editor.
- Then, connect it with the other components in the agent workflow.
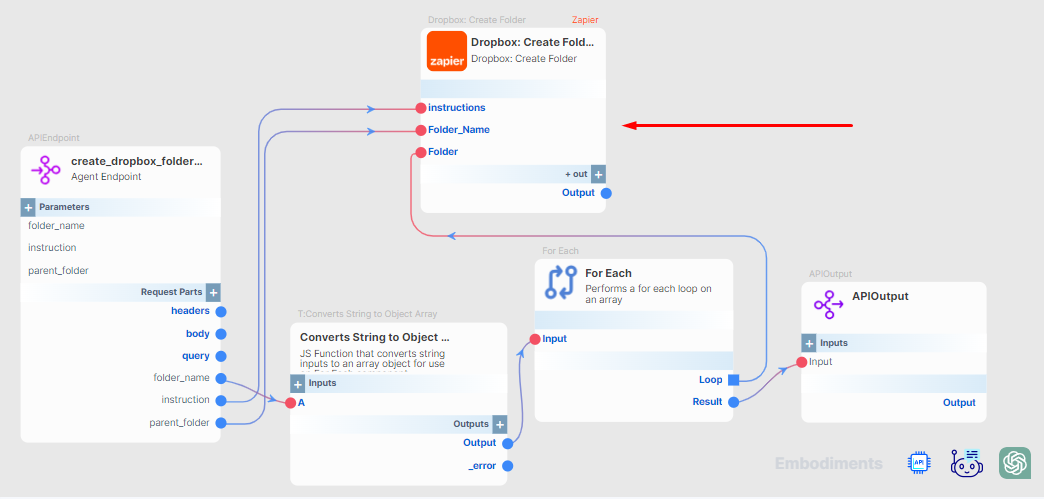
- You’re all set!
Test the Agent
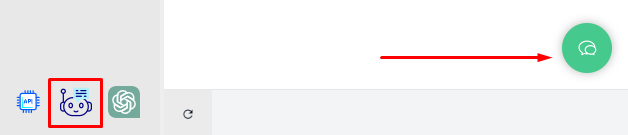
- Open the chatbot embodiment.
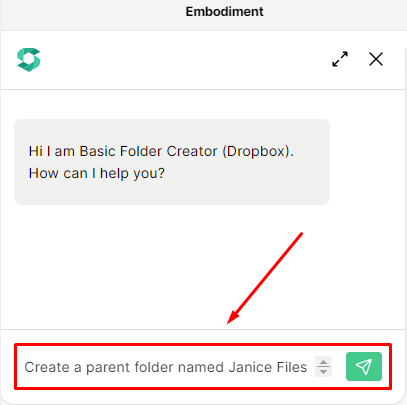
- Enter your prompt.
Note: Be specific on your prompt. Provide the name of the parent folder where you want the new folder to be created.
Prompt: Create a parent folder named
Janice Filesthen inside it, create another folder namedTest 1.
- The agent will then confirm the folders that have been created.

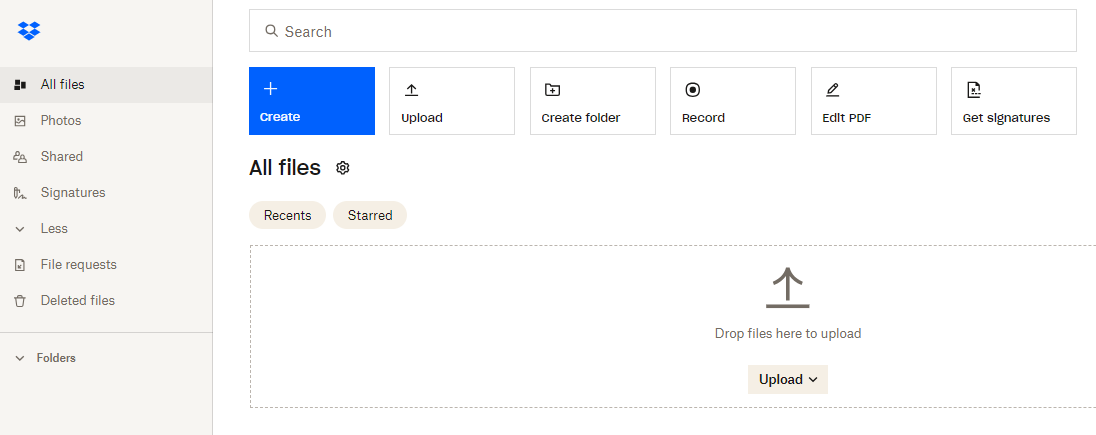
- Here’s the view of the dropbox before the folder creation.
- Here’s the view of your Dropbox after the agent confirms the folder creation.
